This is a quick practical guide to setting up your first proximity beacon
You will need:
- Proximity beacon – you can get one here, or amazon
- Computer – anything that runs Chrome
- Google account
- Android smartphone

- To begin Open Google Beacon Dashboard
https://developers.google.com/beacons/dashboard/ - START by allowing the appropriate permissions

- You will need to set up a new Google Cloud Platform project – click “create one”

- Agree with the terms and continue to Dashboard

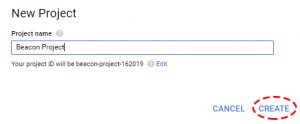
- Create a new project, and once created, go back to the Beacon Dashboard and refresh the window


- Select your newly created project

- Grab your phone and download the Google Beacon Tools app

- Select the Google account you’ve used to setup the Beacon Dashboard
- From the list of unregistered beacons, tap on the one you want to add to your account

- Click Register Beacon. If you get the 403-unauthorised message, be sure to select the project.
- Now go back to your computer and refresh the Beacon Dashboard
- By now, you should see the beacon

- Now open your beacon and add a description

- Click View Details > Nearby Notification

- Set the title – your call to action (this will be visible to the end users)

- Set the Web URL (it must start with https://), add then remember to click Save
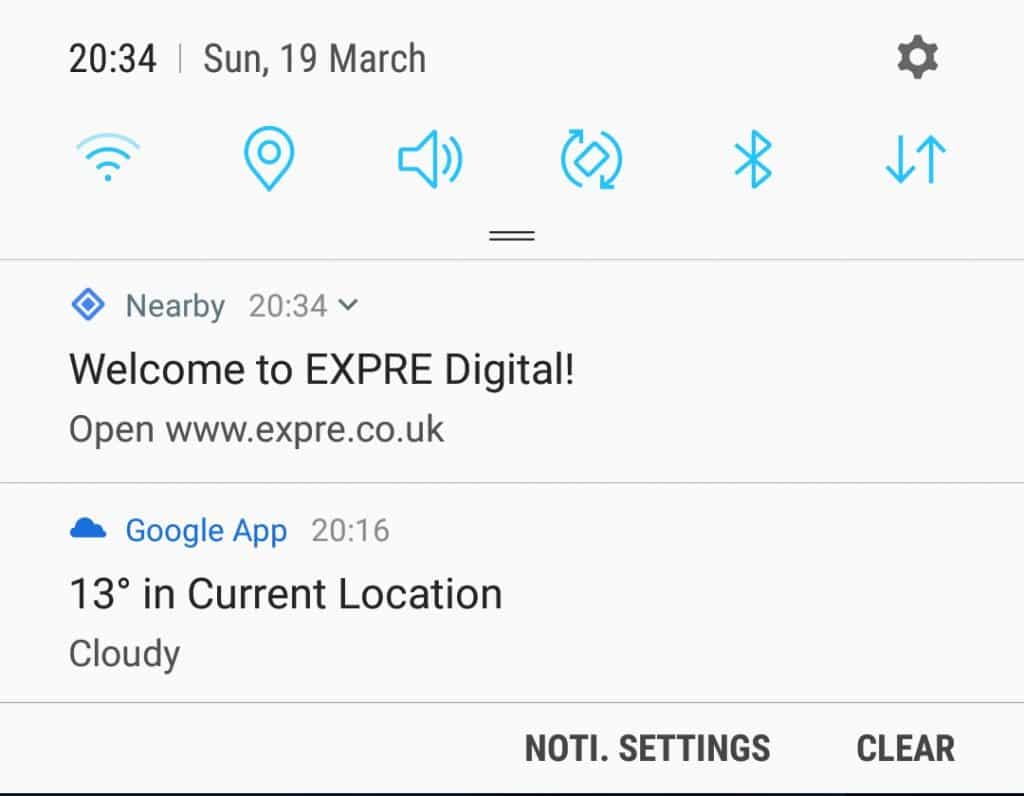
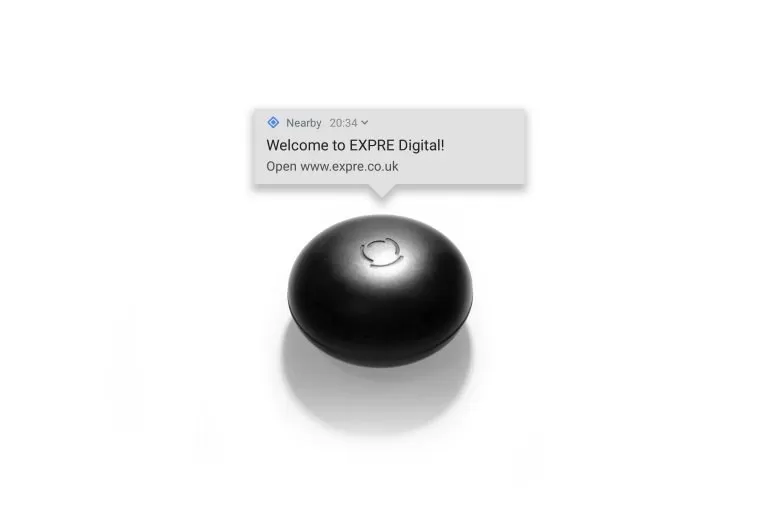
- Providing you have bluetooth and location enabled on your Android device – you can now enjoy your first Nearby notification


